
Before we dive deeper into Laravel Vapor allow me to set the stage for you. I've been working in the PHP ecosystem since I was 15 years old. Given that I'm 33 now it means I have a solid 18 years of PHP/MYSQL development behind me. I love PHP. From the moment I created my own makeshift CMS I fell in love with it. It felt like magic to me.
As time moved on I learned HTML/CSS/JS, Linux server management, AWS, fancy new tools, overly complicated and "modern" ways of developing things... I've also lived through many many frameworks and boilerplates that make your job as a developer easier.
The only ones that caught my eye were Bootstrap and Laravel. I discovered Bootstrap on the brink of the responsive design revolution and loved it ever since because it wasn't trying to do much. You get the basics but you can still do whatever you want without much hassle.
Laravel felt the same to me. I watched people use Laravel for at least a year before developing with it in version 5. What attracted me the most were migrations. It felt revolutionary that I could write the entire SQL schema in PHP and be able to track table changes in GIT. The second thing that I was obsessed with were Queues. All in all probably the best career choice I could have made was learning Laravel. It's just a joy to work with. Understandable syntax. Great features. Customizable. Hats off to Taylor 🙌!
As my love for Laravel grew I got the chance to battle test Laravel on many real life projects. Platforms that handle 10 TB of image data, a couple of million API requests per day, a database of a few GB in size with millions of records...In light of that I've decided to build our entire platform, Treblle, on top of Laravel.
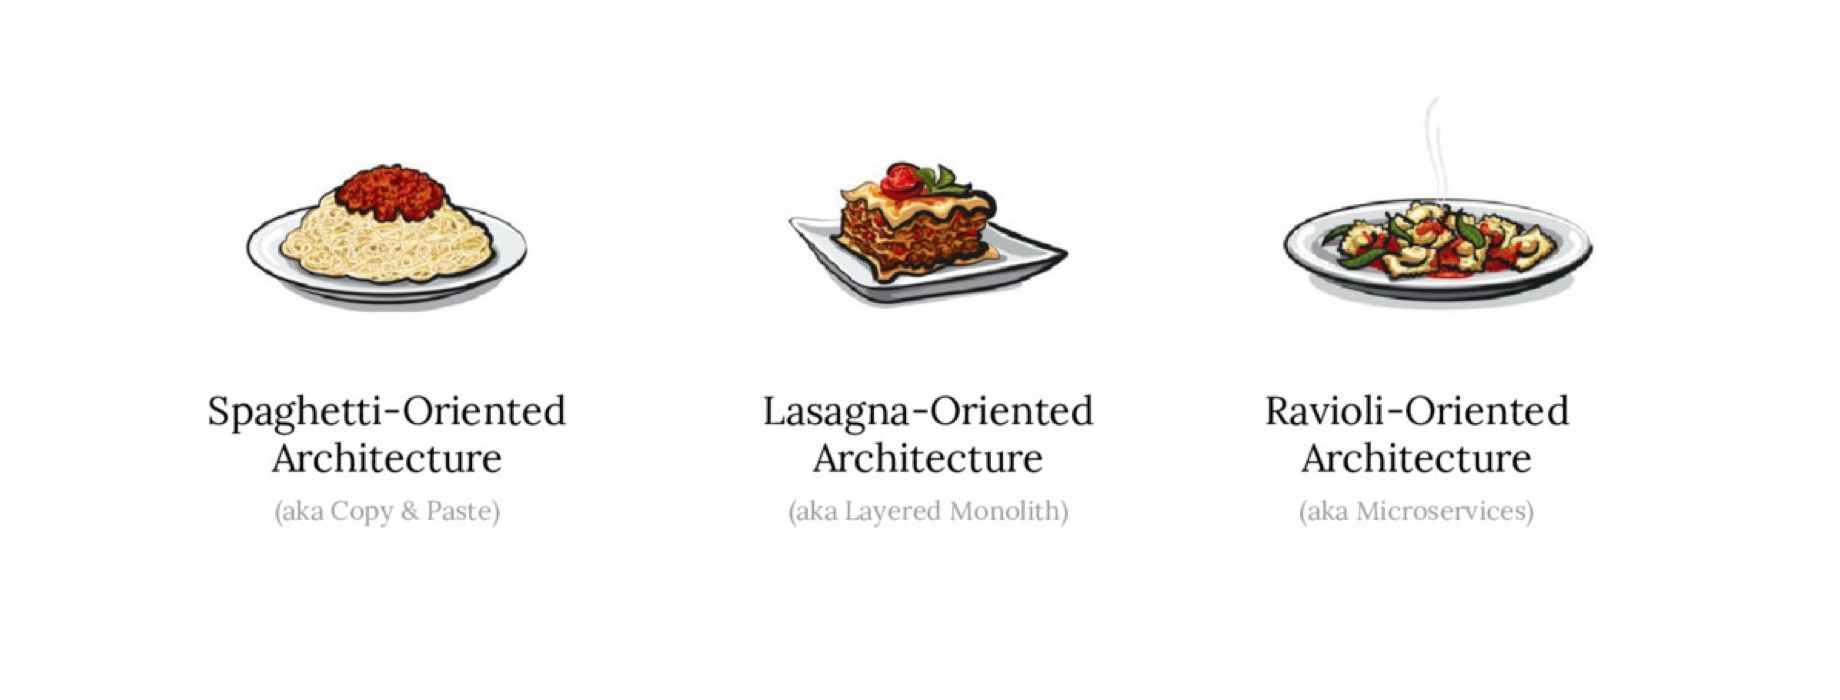
Everything from the website, API to complex processing flows that actually handle all incoming logged requests. I started with a split between Lumen and Laravel but quickly decided to make it all run off one single code base. A beautifully layered monolith.
The only thing that always worried me about PHP was scaling it. Not because it was impossible but rather complicated and time consuming. Everything from deploying code, configuring load balances, connecting to database servers, VPCs, scaling rules...I always found that part boring and overwhelming. As the rest of the world moved into severless with AWS Lambda we (PHP developers) were stuck with defining thresholds to launch EC2 instances using load balancers. Not a pretty process if you ever tried it.
So naturally, when Laravel Vapor came out I was stoked. Just like with everything else I watched it from a distance, read articles about it, watched videos and then I decided to move Treblle to Vapor.
Here are a couple of things that I wish I knew before starting my Laravel Vapor journey.
Prepare to lose some control
As an "old school guy" being able to FTP or SSH into a server and quickly debug or fix a problem was the part that bothered me most. This has nothing to do with Vapor of course but rather the notion of running on Serverless. When an error happens it's not as easy to debug it and it's not as easy to fix it. Be prepared for that.
Yes, there are Cloudwatch logs, Vapor deployment logs but anyone who ever opened the Cloudwatch dashboard knows how scary that is. So just like me, you have to get used to it. If you are however developing APIs or are working with webhooks you are in for a treat - Treblle will make debugging and logging those a breeze.
Don't get scared by the amount of resources needed

Initially when you create a project on the Vapor dashboard you need to spin up quite a few resources: a VPC network, a NAT gateway, an RDS database, a cache instance and a jumpbox. You could remove the NAT gateway and the jumpbox but that would mean your database would be public. I wouldn't recommend that though. Especially considering that a "jumpbox" is actually a "t3.nano" EC2 instance which costs next to nothing and that a NAT gateway costs about 30 USD per month. In my opinion the only two tough decisions you have to make are about the RDS database and the cache instance.
With RDS you can choose a "serverless database" or a fixed size database. The serverless database runs only MYSQL 5.7, is slower and costs more but it scales automatically. Fixed size databases that can run on MYSQL 8.0 are somewhat faster but they don't scale automatically. So with them you have to choose a size and then change it later on if it becomes a problem. Luckily you can do that via the Vapor dashboard. I would strongly recommend using a smaller fixed sized database, something like t3.small, and then scaling up. As far as cache instances go I would recommend using a Redis cluster and also smaller in size - something like t3.small.
The reason why I recommend smaller instances is that people often over provision and then complain how Vapor or AWS is expensive. It's not. You don't need crazy big sizes of resources to launch and get started. The good thing about Vapor is that it gives you insights about the MYSQL and Cache performance. It can also email you or slack you if it gets over a certain threshold so you can simply pause the instance and resize it.
Migrate your domain to Route 53
In case your domain isn't registered on AWS Route 53 i would recommend you transfer the domain there. I did it, it's not complicated, it takes like a day and there is like a small cost to it. If you do that you will be able to control DNS records directly from the Vapor dashboard and your life will be easier in the AWS ecosystem. When you attach a domain to your API gateway or wish to activate SES Amazon will simply create the records it needs directly in Route 53 so you don't have to do a thing.
Understand vapor.yml
This part was super confusing to me. I had to reach out to Vapor support many many times. Mohamed was great at providing answers - fast. With his help and bits of code online I was able to do what I needed. The initial problem I had was where to place commands like: php artisan route:cache, php artisan queue:restart and similar. In case you didn't know, you configure your environments in a file called "vapor.yml" which you will see after you install vapor.
id: 00000
name: treblle
environments:
  production:
    memory: 1024
    cli-memory: 512
    warm: 5
    gateway-version: 2
    runtime: "php-8.0:al2"
    domain: treblle.com
    database: prod-db
    cache: prod-cache
    queues:
      - "ProdLogs.fifo"
    build:
      - "COMPOSER_MIRROR_PATH_REPOS=1 composer install --no-dev"
      - "npm ci && npm run production && rm -rf node_modules"
      - "php artisan route:cache"
      - "php artisan view:cache"
    deploy:
      - "php artisan migrate --force"
      - "php artisan queue:restart"
I used default values for things like "memory" and "cli-memory". The interesting thing about those two is that I am not using most of the memory defined here but apparently, and this is coming from AWS support, if you use higher memory settings for AWS Lambda you get better processors. So I could lower that settings to something like 256MB but it could mean it would take longer to execute because I will get slower processors. So this is a delicate dance between saving money and making sure you execute your code as fast as possible. I would suggest you experiment with this, simply change the settings, visit your website or API and go see in CloudWatch logs how long does it take to execute that.
Values for domain, database, and cache are literary resource names I've created in the Vapor dashboard. So simply copy/paste the names and you are good to go. The "queues" value is actually an AWS SQS queue I manually created. This is something you can always do. If you don't wanna go through the Vapor interface you can always create or change things in AWS.
Next, you see I also have "gateway-version" set to 2. This means I am telling Vapor to create an API Gateway using Version 2. We will talk about this in depth a tad bit later.
Now onto the fun part. When you type in vapor deploy production what happens in the background is magic. Vapor first compiles the entire code on your computer, everything from node and composer packages to building CSS and JS assets. After that it will create (or update) all the resources you defined under database, cache, domain using a bunch of AWS APIs. Finally it will upload a ZIP file with all of the code to AWS S3 which will then get deployed to AWS Lambda. Sounds complicated. And it is. But imagine having to do this without Vapor! Now there are two ways you can affect this process and that is by using "build" or "deploy" hooks which are defined in the YAML file. Laravel will call those at given stages of the deployment. It's also very important to place them at the correct stage otherwise they won't work.
Under the "build" hook you need to install composer dependencies, NPM dependencies. Optionally you can cache your routes and events.
Under the "deploy" hook you can execute migrations and restart the queue. Unlike the build commands these will actually execute on the "server".
One thing that you might notice is that php artisan config:cache isn't included in any of the stages. That is because it's done for you automatically by Vapor. So your config is cached so you don't have to worry about it.
Choose the right gateway version
In case you didn't know Vapor uses AWS API Gateway to essentially route traffic to your application running in a Lambda function. AWS has two Gateway versions: 1 and 2. By default Vapor will deploy using version 1 which allows you to have a Vapor managed firewall and is deployed using, what Amazon calls, "Edge optimized" deployments. This just means that your application will be closer to your user and their region. In case you are deploying to "us-east-1" and you have a visitor from Europe he isn't going to connect to "us-east-1" but rather Amazon will bring the connection point closer to him, something like "eu-central-1", which will in return reduce latency.
Gateway version 2 is literally 70% cheaper than version 1 and there is a significant performance increase. The one important thing with version 2 is that you lose the ability to deploy your application as "Edge optimized" and you can only do "Regional" deployments. Meaning if you deploy to "us-east-1" all your users have to connect to that region no matter their location. This might cause latency issues with users outside your region.
I first deployed and tested with version 1 and to be honest I was not happy with the performance. I first thought that I messed something up during deployment and configuration but Mohamed said I should get in touch with AWS about performance issues. I spent a lot of time optimizing both the back-end code and front-end to be blazing fast. I had scores of 100% on Google Lighthouse when running on a regular EC2 instance yet on Vapor I was seeing server response times of like 1.2 seconds. After a few calls with AWS they actually said that the results are worrying and that something might be wrong on their end. To this day they are still "investigating" that.
I didn't wanna sit idle until AWS fixes whatever their problems were so I decided to give Gateway Version 2. After redeploying with Version 2 I did see a significant performance improvement. The response time was down to 200ms which is much better. In my mind that still isn't great but given the fact that i am connecting to us-east-1 it was okish.
There is one interesting fact I learned about Gateway deployments. In case you are deploying to API Gateway Version 1 and you plan to have a custom domain or subdomain attached to it then you should deploy it with the Endpoint type of "Regional". Sounds crazy but AWS support told me that when you attach a domain to your API gateway you essentially create a managed CloudFront domain which is in fact "Edge optimized". This means that the API will actually be "Edge optimized". In case you deployed the API as "Edge optimized" and attached a custom domain to it it would do a" double hoop" because the added domain is also "Edge optimized". Remember this one as I've spent quite some time "doing it wrong".
Cleanup your ENV
Laravel Vapor injects a lot of variables for you. They can do that because you store the AWS credentials in the Vapor dashboard and Vapor can create all the resources for you. Hence they know the connection details for the database, cache instances and similar. From your .ENV you should remove the following:
- Database related variables: DB_CONNECTION,DB_HOST,DB_PORT,DB_DATABASE,DB_USERNAME,DB_PASSWORD
- AWS related variables: AWS_ACCESS_KEY_ID, AWS_SECRET_ACCESS_KEY and AWS_REGION
- Redis related variables: REDIS_HOST, REDIS_PASSWORD, REDIS_PORT
All of those and more are simply added for you. One of the first questions I had was about the AWS S3 Bucket. Given that Vapor creates multiple of it's own buckets I was afraid to define my own. But it's totally fine even if you define your own custom created bucket Vapor will still run and be able to upload assets and code to the correct buckets.
Adjust some of your code
On Treblle we use the AWS SDK to, among other things, create API keys for users on our API Gateway. This requires us to create our own AWS client connections like so:
<?php
$gateway = new ApiGatewayClient(['version' => 'latest', 'region' => config('services.aws.region),
    'credentials' => new Credentials(
        config('services . aws . key'),
        config('services . aws . secret')
    )
]);
Out of the box this did not work because the underlying configuration references ENV values AWS_ACCESS_KEY_ID, AWS_SECRET_ACCESS_KEY and AWS_REGION. Those are not present, as explained in the section above, and get appended by Vapor directly to the Lambda function. Hence the code didn't work. We had to update our connections to this:
<?php
$gateway = new ApiGatewayClient([
    'version' => 'latest',
    'region' => config('services.aws.region'),
    'credentials' => CredentialProvider::env()
]);
This will instruct AWS to load the credentials from the ENV variables, but not "our ENV", rather the one that Vapor creates on the Lambda function.
We had to do updates for Firebase as well. Because the Firebase PHP package loads the configuration from a JSON file we had to upload that to S3 (since you don't have a local file system) and update that as well.
If you have file uploading on your platform you will have to make sure that the files get uploaded directly to S3 from the front-end. They can't touch the Laravel app because there is no local filesystem to handle file uploads.
Give up on a subdomain for assets
In case you didn't know Laravel Vapor will upload all your assets (images, css, js) to AWS S3 and will then create a CloudFront distribution for those assets. That makes the loading time very fast and ensures that users are always downloading assets from locations closer to them. This is great. But by default URLs to your assets look like this: d2yzzcow4k19m2.cloudfront.net/c3fb4469-ddda-416d-ad41-5bc4116f5462/css/app.min.css?id=5733d15ea60112431152
I wanted to have something cool like assets.treblle.com/css/app.min.css but it turns out it's a big no no. The reason for that, as Mohamed said, is the dynamic UUID part in that URL that gets appended during the deployment process. Only Vapor knows what that UUID is and there is no option to define a custom subdomain. This is something I would like to see added at one point in time.
These are some of the things I wish I knew before starting the move process. My life would be easier and I would have done some of the things much faster. I hope some of these notes help you when starting your Laravel Vapor path.
To conclude, even though I am still chasing the performance I want, Vapor has made the process of going serverless as easy as it can get. I would recommend it to anyone looking to scale their Laravel app without having to hire a DevOps person and glue together multiple various systems. If you have any questions feel free to shoot them to me on my Twitter or share them on our Treblle Reddit board.


